Editing a Mondrian Connection
You can change the connection name, schema, data source, and access grant definition in a Mondrian connection.
To edit a Mondrian connection
-
In the Search field, enter the name (or partial name) of the Mondrian connection you want to edit, and click the Search icon. For example, enter a foodmart.
The repository appears and displays objects that match the text you entered.
-
Right-click the Mondrian connection that you want to edit and click Edit.
The Set Connection Type and Properties page appears with the fields populated.
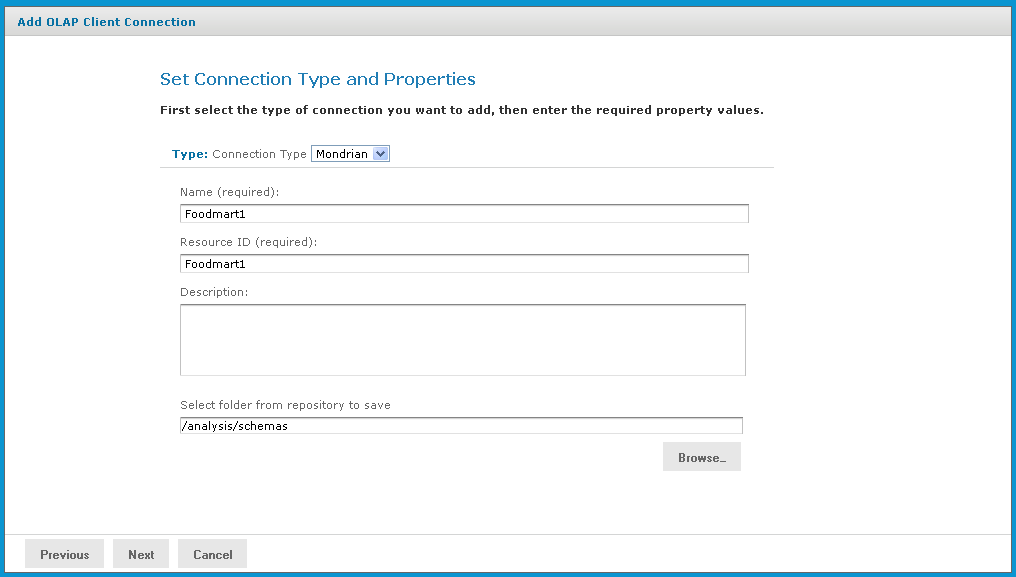
Figure 1 Set Connection Type and Properties Page
-
Change values as necessary and click Next.
The Locate OLAP Schema page appears.
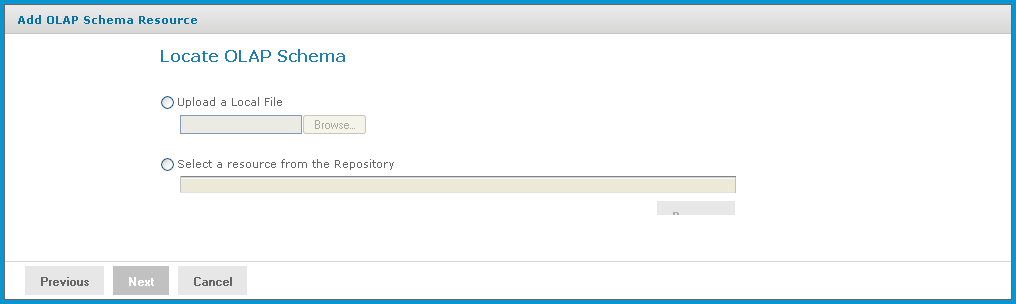
Figure 2 Locate OLAP Schema Page
You can either accept the existing file or replace it. If you replace the file, you can either upload a new file or select one from the repository.
-
To accept the existing file, click Next.
-
To replace the file, either:
-
Click Upload a Local File and click Browse to upload a new schema from your local computer.
-
Click Select a resource from the Repository, click Browse, and navigate the repository to the schema you want to use. Then click Select.
-
Click Next.
The OLAP Schema Resource page appears.
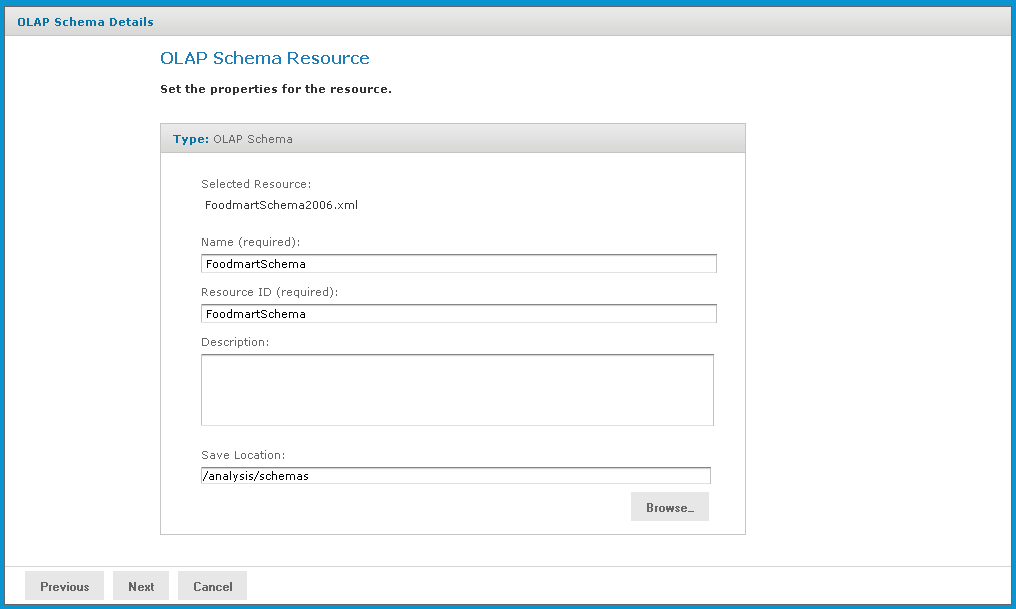
Figure 3 OLAP Schema Resource
-
If you chose to upload a new file, enter a name and description for it.
If you accepted the existing file or selected one from the repository, the fields are not editable.
-
Click Next.
The Locate Data Source page appears.
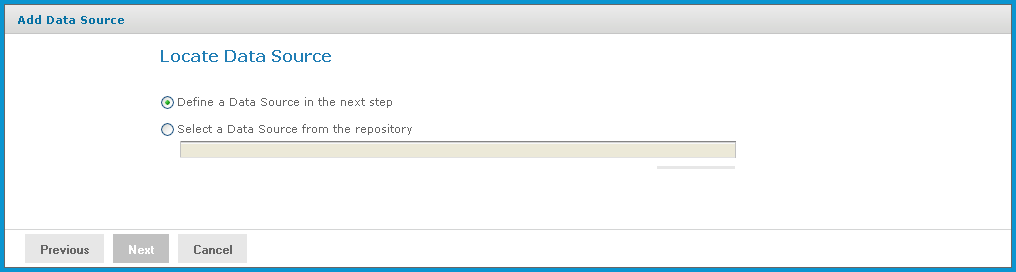
Figure 4 Locate the Data Source
You can either accept the existing data source or replace it. If you replace it, you can either define a new data source or select one from the repository.
-
To accept the existing data source, click Next.
-
To replace the data source, either:
-
-
Click Define a Data Source in the next step.
-
Click Select a Data Source from the Repository, click Browse, and navigate the repository to locate the data source you want to use. Then click Select.
-
Click Next.
If you accepted the existing data source, or if you selected a data source from the repository, that connection is used. Clicking Next displays the Locate Access Grant page.
If you chose to define a new data source, the Set Data Source Type and Properties page appear.
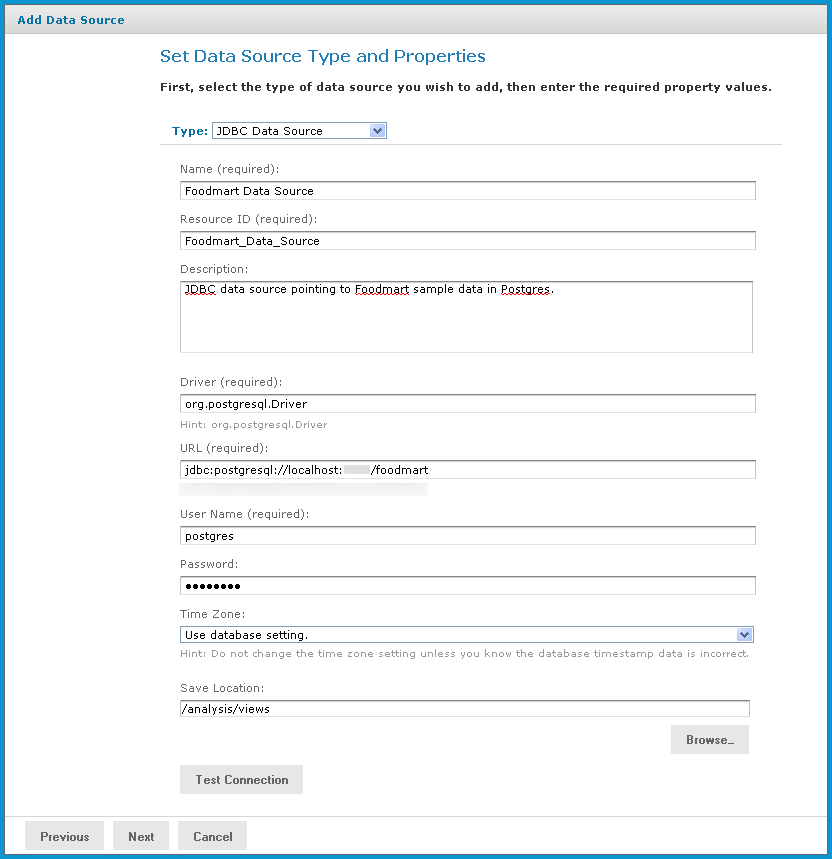
Figure 5 Set Data Source Type and Properties Page
-
Enter the requested information, For details on defining data sources, refer to Working with Data Sources and to the JasperReports Server Administrator Guide.
Note
Test the new data source to ensure it works properly.
-
Click Submit.
The Locate Access Grant Definition page appears.
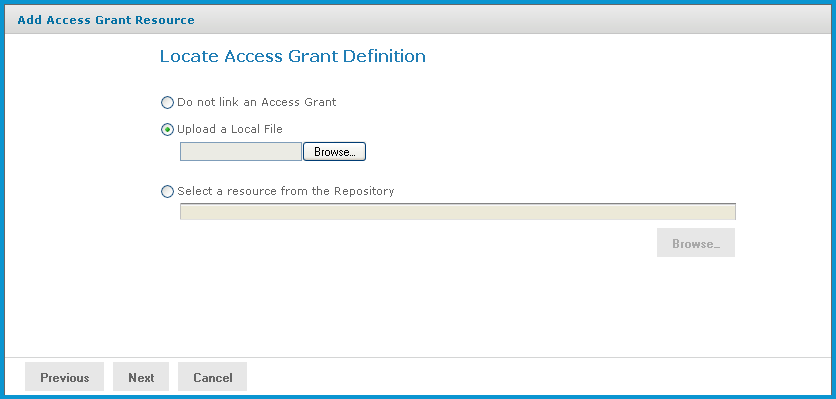
Figure 6 Locate Access Grant Definition Page
-
Click one of the following options:
-
-
Do not link an Access Grant. Click Next and skip step 17.
-
Upload a Local File. Click Browse to select a different local file.
-
Select a resource from the Repository. Click Browse to select a different file in the repository.
-
-
Click Next.
If you chose to secure the data, the Access Grant Resource page appears.
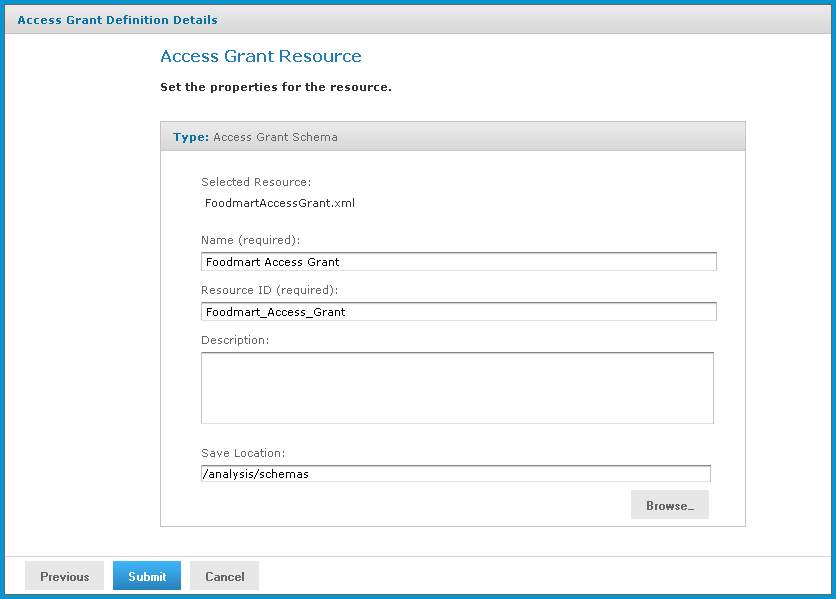
Figure 7 Access Grant Resource Page
-
If you upload a new AGXML file, enter the requested information. For details, refer Uploading an Access Grant Schema. If you select a resource from the repository, the fields are not editable.
-
Click Submit.
The updated connection appears in the repository.