Scheduling a Dashboard
You can schedule a dashboard from the dashboard view mode and the edit mode (dashboard designer).
To schedule a dashboard
-
On the dashboard toolbar, click
 to open the New Schedule dialog.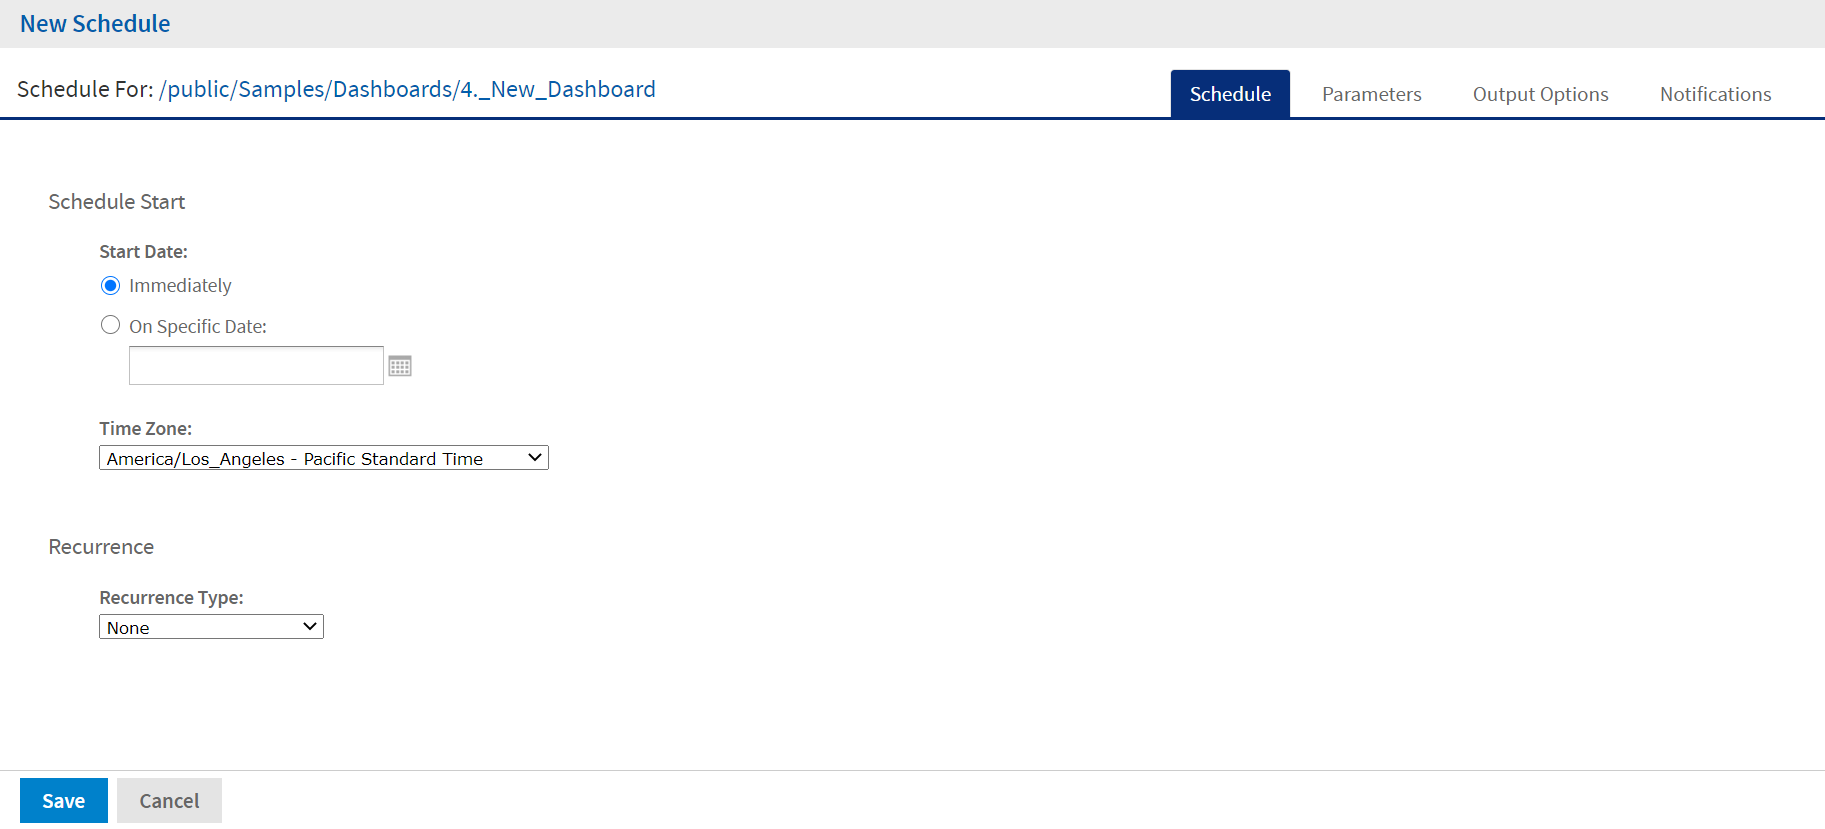
Figure 1 New Schedule Dialog
The New Schedule dialog has the following tabs:
- Schedule – When to run the scheduled job, and how often.
- Parameters – If the dashboard was designed with input controls, which parameters the scheduled job uses.
- Output Options – The name of the output file, the output format and locale, and where the output file is stored.
- Notifications – Email options for sending the output to recipients and for sending administrative messages.
-
Create the schedule, as described in Creating a Schedule.
-
Click Save. The Save dialog appears.
-
In the Scheduled Job Name field, enter a name for the job. The description is optional.
-
Click Save to save the schedule. The job appears in the list of saved jobs for dashboards.
For information on viewing, modifying, or deleting the schedules, see Scheduling Reports and Dashboards.