Connecting Jaspersoft Studio to Your Data
-
Create a data adapter (called data source in Jaspersoft Studio).
-
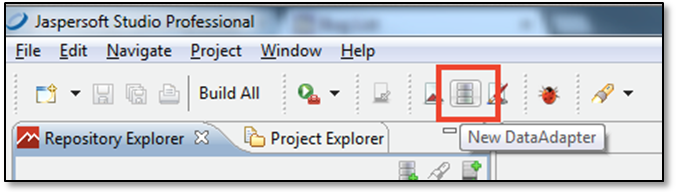
In Jaspersoft Studio, click the New Data Adapter icon to display the DataAdapter wizard.
-
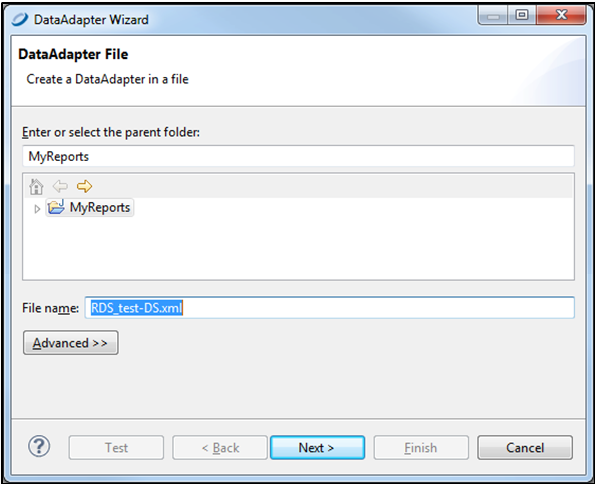
Name your DataAdapter and click Next.
-
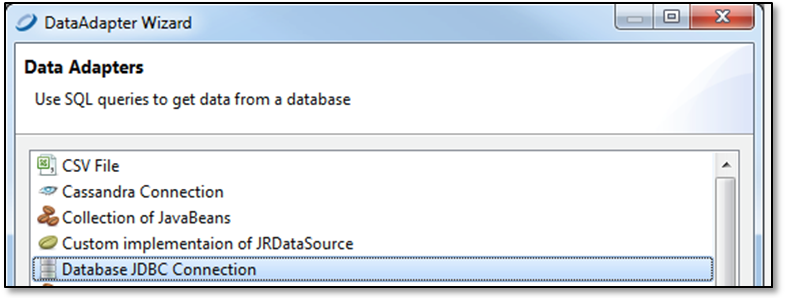
Select the data source type. For Amazon RDS and Redshift, use JDBC. Then, click Next.
-
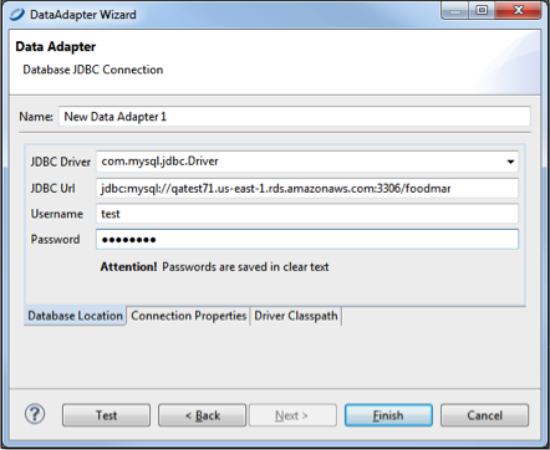
Add the JDBC Driver. You may need to search the web for one that corresponds to RDBMS or other technology on your Azure instance.
-
Enter the JDBC URL. This is the Endpoint URL from your Azure dashboard (including the port) and database type.
-
On the Driver Classpath tab, select the local path of the driver.
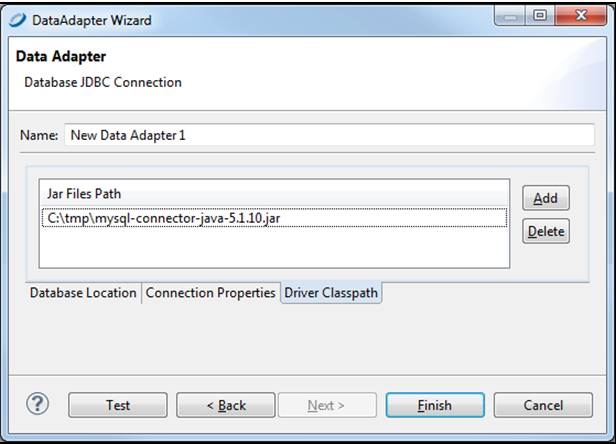
-
Test the connection. You need to connect to the Jaspersoft Studio repository to manage and schedule reports.
Defining Repository Explorer Connection
-
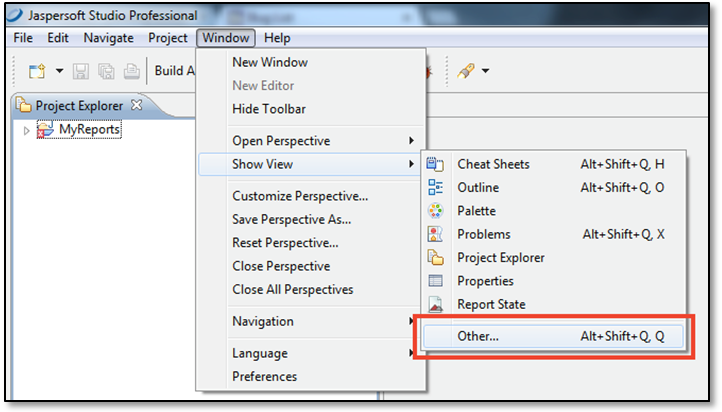
In Jaspersoft Studio, select Window > Show Views > Other.
-
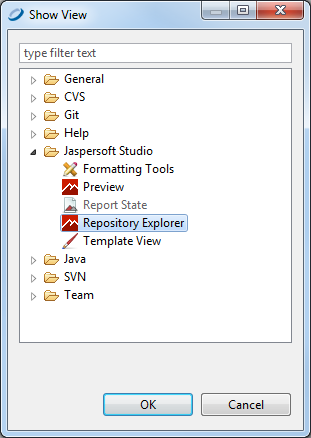
Select Repository Explorer.
-
Select the URL of the instance.
-
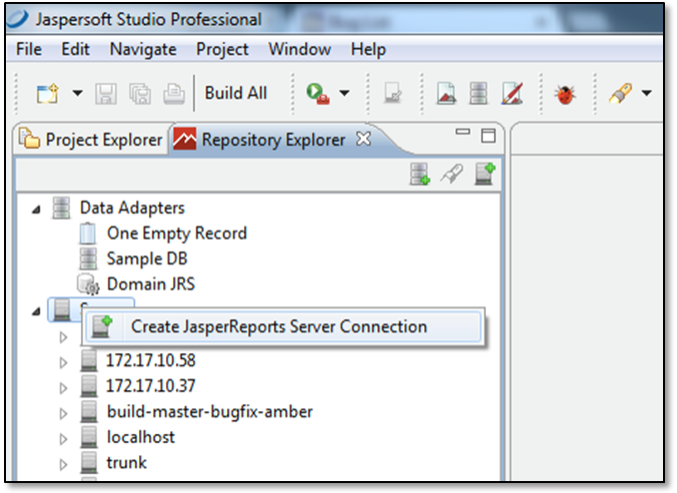
Right-click the name of your instance to create a JasperReports Server repository connection.
-
Fill in the URL of the instance, but do not add the port ID number. At the end of the path include
/jasperserver-pro/.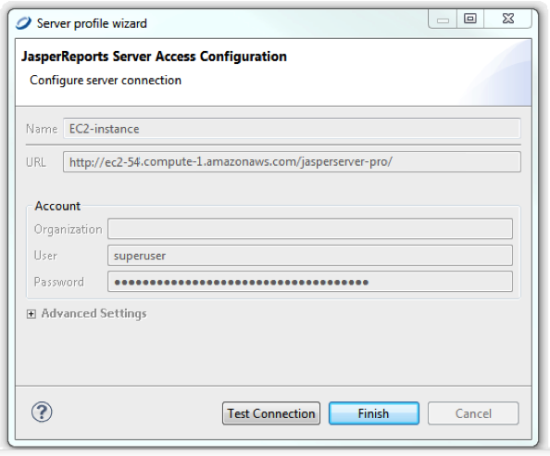
- See the Jaspersoft Studio documentation for more information about creating reports. For online training and tutorials, visit Jaspersoft Community.